Once a broker has requested to bind the quote to a carrier, it is set to a status For Stamping. An underwriter user can then proceed with the quote and bind it.
Binding Slip Actions and Overview
Once ready to bind the quote, in the Quote List use the Actions menu for a quote with the status ‘For Stamping’:
Select the Binding Slip option.
This will take you to a Binding Overview page where you can Stamp the quote and set it to Bound.
Example of Binding Overview Page:

Download the Binding Slip PDF by pressing the Download button:

There are two options available on how to proceed with binding the quote:
- Stamp and Bind – the system automatically binds the quote using a stamp that has been added in your Stamps section of the Control Panel
- Upload and Bind – you manually stamp the slip before uploading it to the system
Note: if Stamp and Bind is not available then it may mean that you have not added any stamps into the Control Panel. To add stamps then please see section Adding Stamps.
Stamp and Bind
If the Stamp and Bind button is available, then this will automatically stamp the document and bind the quote.
Press the Stamp and Bind button:

This will display the Bind Quote dialog including the Stamps that you have previously added:
Example of Bind Quote dialog:
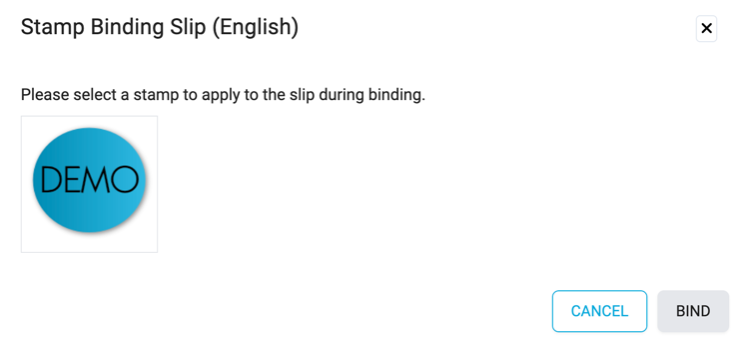
Select the Stamp you want to use for the slip and the Bind button will become enabled:

Press the Bind button.
The quote will change to Bound status and the slip will automatically be stamped with the selected underwriter’s stamp.
Upload and Bind
If you want to stamp the Binding Slip externally to the Lime Street Market Place Control Panel, then you can download the unstamped slip and proceed to add your stamp. Once ready to upload the signed document, you can use the Upload and Bind button to add the stamped Binding Slip into the system:

Select the file in the file explorer window and press Open.
Once successful, the quote will change to Bound status and the file will be uploaded as the stamped Binding Slip.